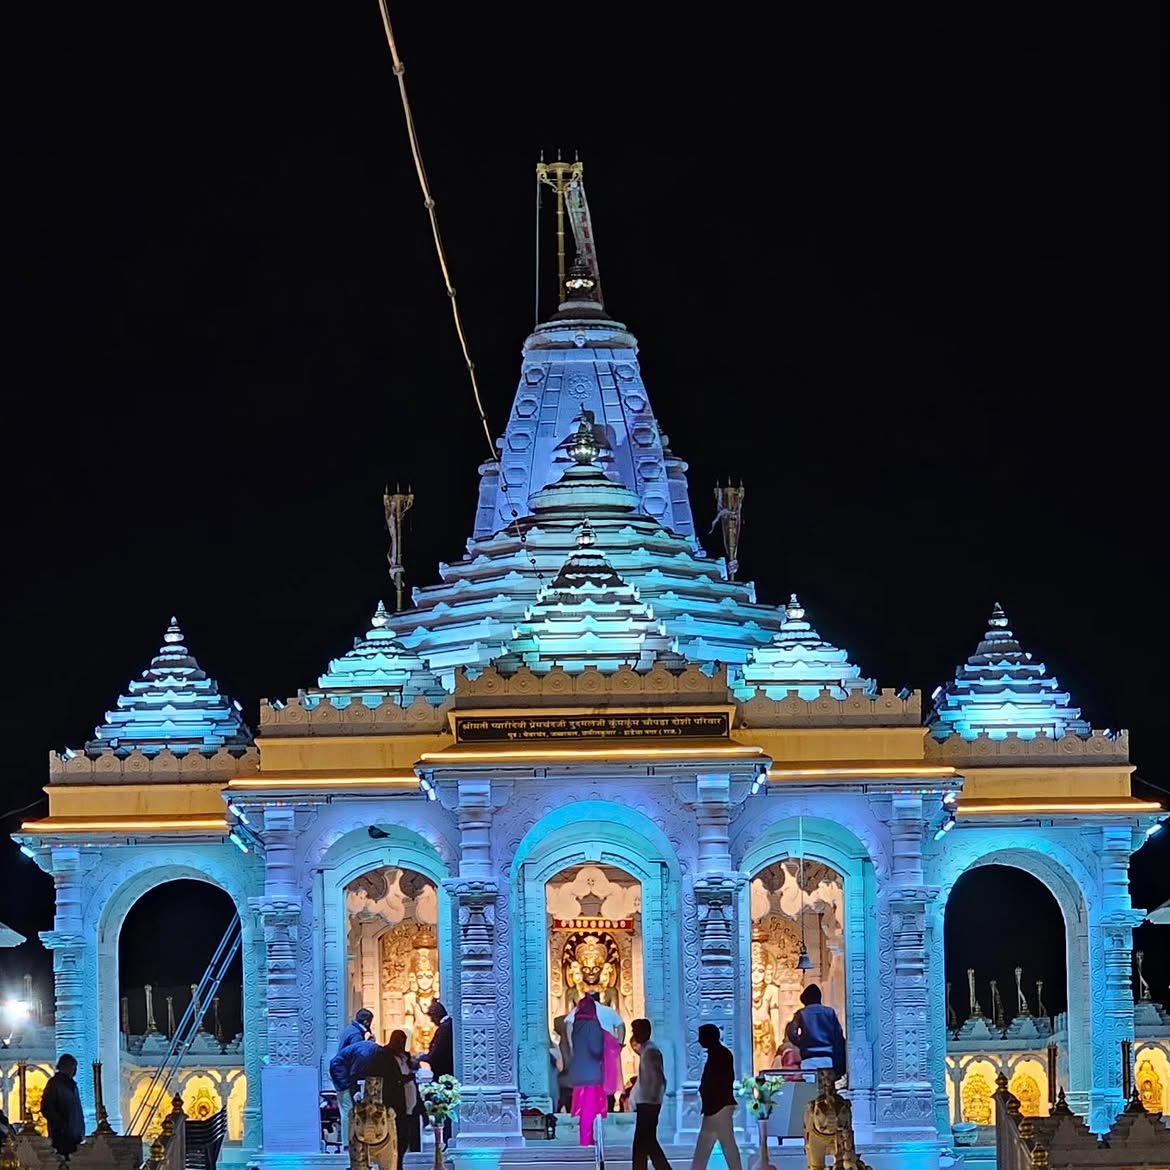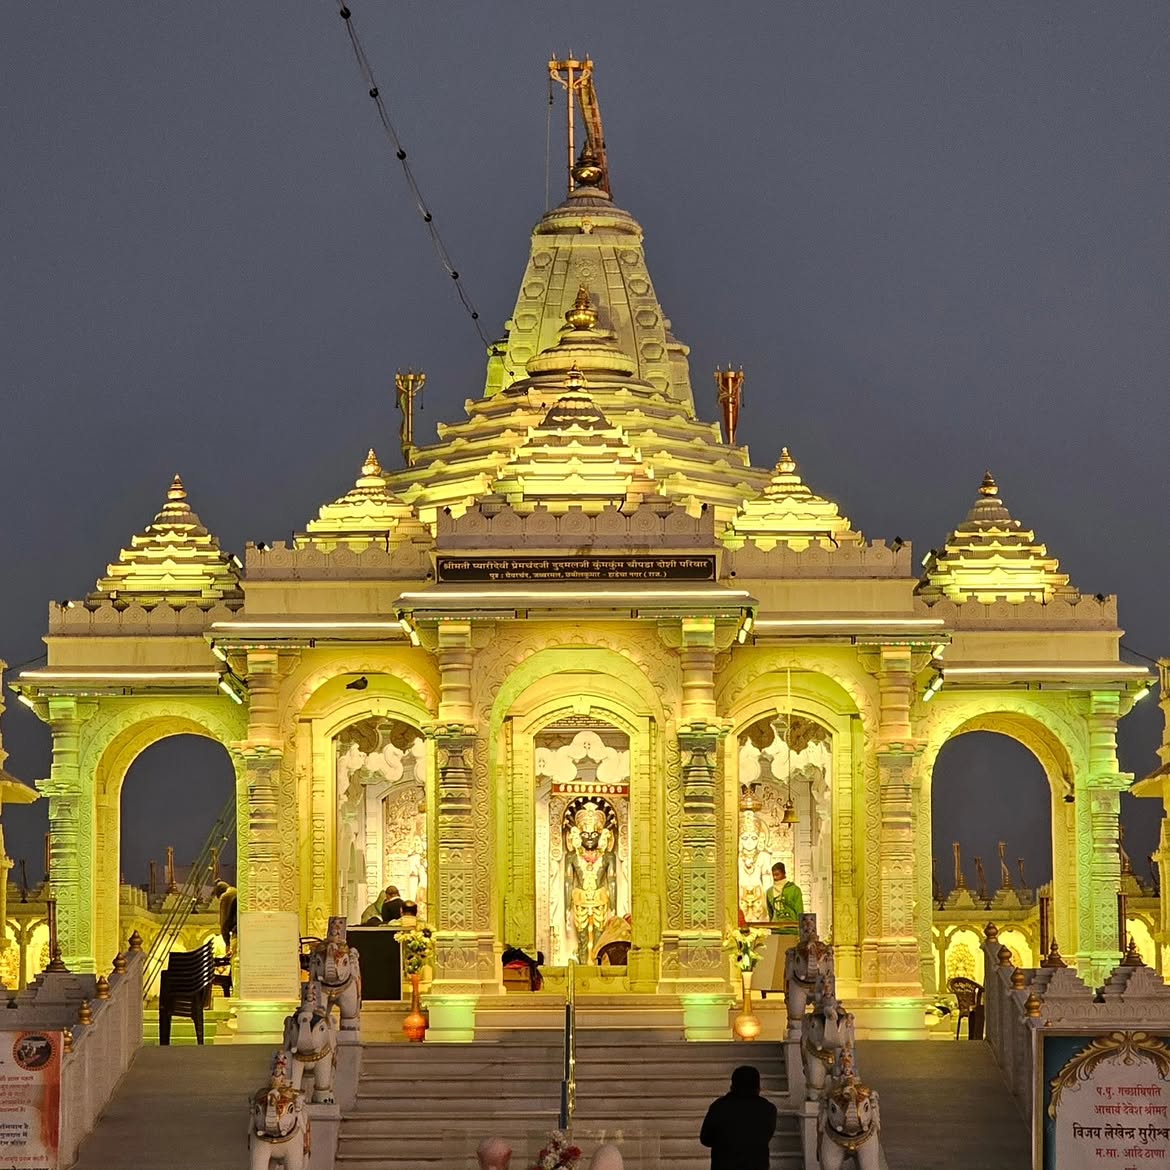
Temple Lighting
Festival Lighting for Temples and Community Spaces
Plan dynamic celebration scenes while protecting permanent architecture, visitor routes and electrical systems.
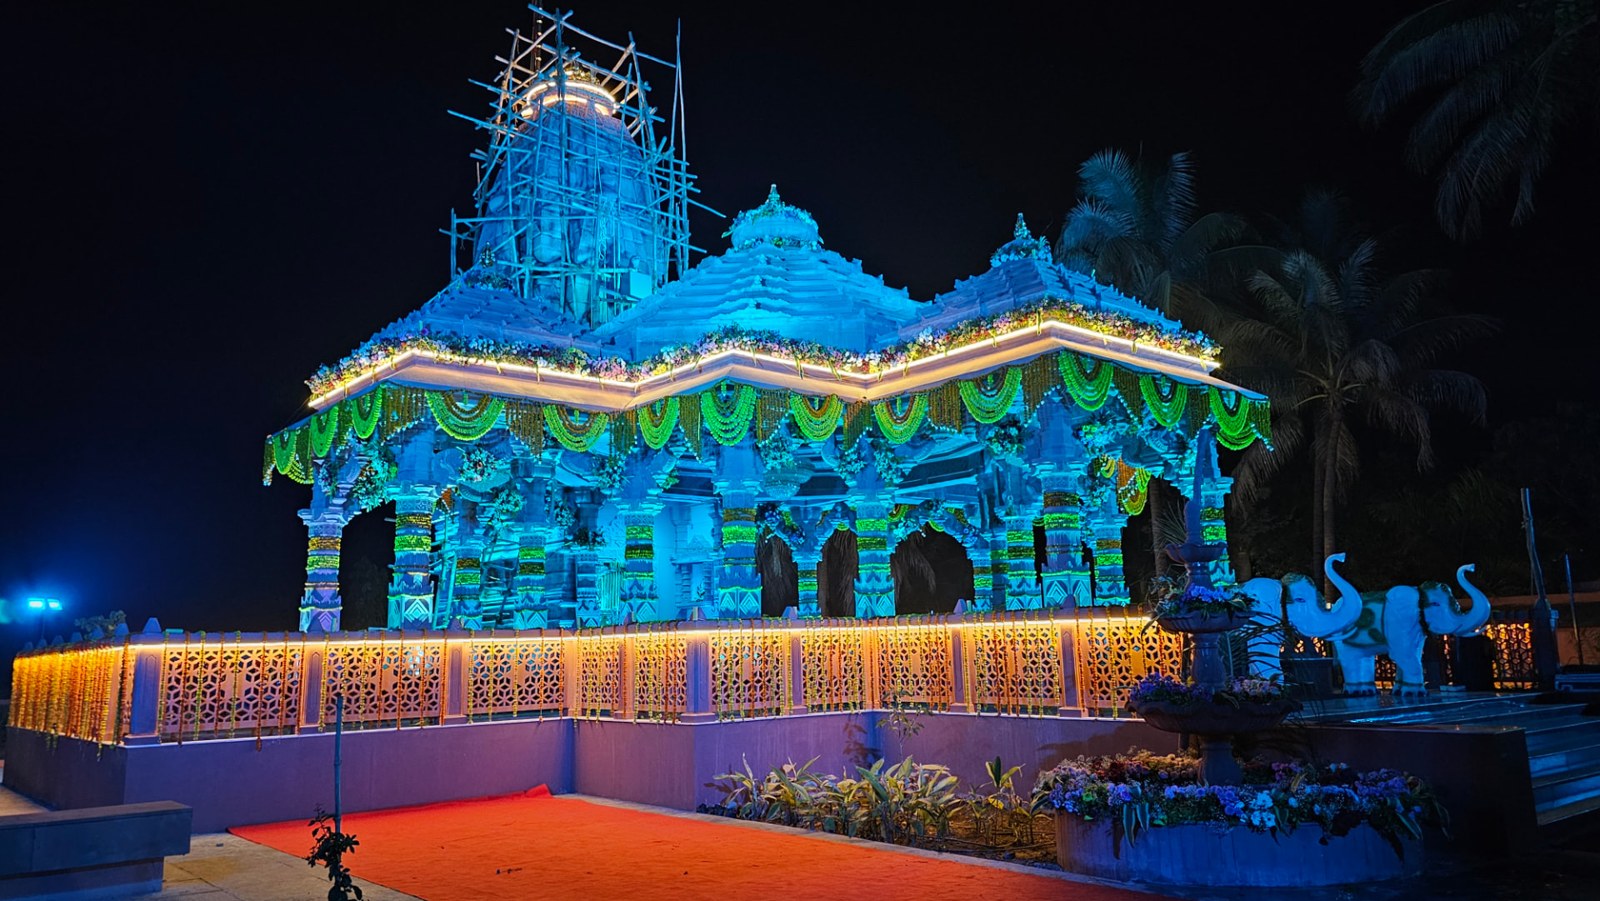
What temple festival lighting should achieve
Plan dynamic celebration scenes while protecting permanent architecture, visitor routes and electrical systems. The strongest solution is not the one with the most fixtures or highest wattage. It is the one that makes important surfaces readable, keeps people comfortable and remains maintainable after handover.
Start with the visual purpose. Decide what a visitor should notice first, what should remain secondary and which routes need practical light. That hierarchy prevents every surface from competing at the same brightness and gives the night view depth.
Indian outdoor projects must account for heat, dust, seasonal rain and how people use the site after dark. A survey in daylight and darkness helps the team understand finishes, viewing distances, cable routes, ambient light and mounting positions before products are selected.
Plan the lighting from the site outward
Document the primary viewpoints, architecture, landscape, public movement and operating hours. Photographs and measured dimensions are useful, but a simple elevation marked with target surfaces and mounting distances is even more valuable for early beam decisions.
Separate visual goals from equipment. A brief might ask for a calm warm entrance, legible carvings and a festival colour mode. Only after those outcomes are agreed should the team compare optics, outputs, control types and fixture sizes.
Mock-ups reduce uncertainty. Test one representative bay or surface with the proposed mounting distance and finish. Review it from normal viewpoints and note glare, spill, shadows and colour before approving the full quantity.
- Identify primary and secondary viewing directions
- Record material colours, texture and reflectance
- Mark power, control and maintenance access
- Test a representative area before full installation
Select fixtures by light distribution, not wattage alone
Wattage describes electrical demand, not where the light lands. Beam angle, field angle, optical control, mounting distance and target size determine whether a fixture produces a useful wash, a narrow accent or an uncontrolled bright patch.
Compare photometric information where available. For linear surfaces, check how adjacent beams overlap. For long throws, confirm centre intensity and edge softness. For close-set details, verify that the fixture can be shielded from normal lines of sight.
The product body also matters. Outdoor housings need suitable sealing, drainage, cable glands, corrosion resistance and thermal management. A high ingress rating cannot compensate for a poor junction, trapped water or a driver installed where it overheats.
Build a restrained colour and control strategy
Warm white often supports sandstone, carved stone and traditional details, while neutral white can make contemporary surfaces appear crisp. RGB and RGBW systems are valuable when programmed with discipline; rapid colour changes can obscure architecture instead of revealing it.
Choose the control level the operator can realistically manage. A simple timer and two scenes may serve a private property well. A larger temple, hotel or public facade may need astronomical scheduling, dimming, event scenes and clearly documented manual overrides.
Name scenes by purpose, such as daily, late-night, festival and maintenance. Set sensible intensity limits and transition times. This makes the installation easier to operate and avoids a situation where only the original programmer understands the system.
Need a fixture and control recommendation?
Share the elevation, dimensions, project location and desired effect with our lighting team.
Discuss your projectInstallation details that protect the design
Aiming should happen after dark with the final surface clean and visible. Tighten mounts only after the beam has been reviewed from key public positions. Small angle changes can remove glare, reveal a cornice or stop spill from entering a window.
Keep cable routes orderly and accessible. Use compatible connectors, sealed junctions and strain relief, and avoid low points where water can collect. Drivers and controllers should have ventilation, identification and enough working space for future testing.
Coordinate with the architect, electrical contractor and site operator before drilling or fixing. Heritage and finished surfaces may require reversible brackets or remote mounting. Record final circuit, address and aiming information as part of handover.
- Label circuits, drivers and control addresses
- Photograph final aiming positions
- Provide surge and earthing protection
- Keep access clear for cleaning and replacement
Common mistakes and practical corrections
The most frequent mistake is treating brightness as quality. If the centre of a wall is overlit while edges disappear, reduce output, change the optic or revise spacing rather than adding more power. If glare is visible, change the aiming line or add shielding.
Another mistake is choosing colour before understanding material. Test warm, neutral and coloured scenes on the actual finish. Pale stone, polished cladding, glass and saturated paint respond very differently, and camera images can exaggerate colour compared with the human eye.
Finally, do not leave maintenance until handover. Confirm who can reach each fixture, where replacement drivers are located and how scenes are backed up. A slightly simpler system that the owner can maintain is usually better than a complicated system that degrades unnoticed.
Commissioning and long-term care
Commission each circuit and scene systematically. Check fixture operation, dimming range, colour consistency, control response, timer behaviour and emergency overrides. Review the result at full output and at the normal operating level, because many scenes look better below maximum.
Create a maintenance calendar based on the site. Dust on lenses and debris around recessed fittings reduce performance and trap heat. Seasonal inspections before the monsoon and major events can catch damaged seals, loose brackets and cable issues early.
Keep a short handover pack with product schedules, warranties, circuit information, control instructions and night photographs. This practical record supports faster troubleshooting and protects the original intent when a component eventually needs replacement.
Next step for your project
A useful first conversation should cover the site, target surfaces, normal viewing points, desired atmosphere, operating schedule and budget range. Share daylight and night photographs, approximate dimensions and available drawings so the design team can identify the right questions.
Shree Technical Lighting Solution works across architectural, decorative, landscape, facade and fountain lighting. The team can review project requirements for Banswara, Rajasthan, Gujarat and nearby service areas without forcing location terms into a solution that should remain driven by the actual site.
For a practical recommendation, request an enquiry and include the project location, building type and expected completion stage. A survey or sample test can then be planned when needed, followed by fixture selection, controls, installation coordination and commissioning.
Frequently asked questions
What is the first step in planning temple festival lighting?
Start with a night-time site survey, define the visual hierarchy and identify safe mounting, power, control and maintenance positions before choosing fixtures.
Should outdoor lighting always run at full brightness?
No. Appropriate optics, aiming and dimming often create a clearer result at lower output while reducing glare and unnecessary spill.
Why is a mock-up useful?
A mock-up shows how real materials, viewing distances and ambient light affect the beam, helping the team correct spacing, colour and glare before full installation.
Plan with confidence
Bring your lighting brief to life
Send site photos, dimensions and your desired night-time effect. We will help identify suitable lighting products and next steps.